
Tool guide
Quick answers, steps, and examples — for readers and search.
At a glance
- Purpose
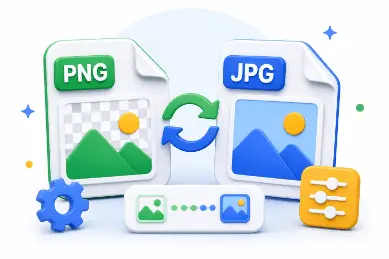
- convert a PNG image into JPG.
- Input
- a PNG file.
- Output
- a JPG file with adjustable quality and background color.
- Best for
- smaller file sizes and compatibility with apps that require JPEG.
What it does
The PNG is read locally, its transparent areas are composited onto the background color you select, and the flattened image is exported as JPEG without ever leaving your device.
How to use
- 1Select a PNG file.
- 2Set the quality and background color for transparent areas.
- 3Process the file and download the JPG.
Features
- A quality slider controls file size.
- A background fill handles transparent PNG pixels correctly.
- Processing stays private in your browser.
Use cases
- Emailing a photo that a recipient's system requires as JPG.
- Reducing a PNG's size before attaching it somewhere.
- Preparing graphics for legacy systems that only read JPEG.
Examples
- A PNG logo on a white background becomes a JPG.
- A PNG screenshot converts to a JPG at 80% quality.
Common mistakes
- JPG can't store an alpha channel, so transparency always needs a background color first.
- A flat-color PNG graphic may convert cleanly, but a photo with soft alpha edges needs the right background to look right.
FAQ
Will transparency be preserved?
No. JPEG has no alpha channel. Pick a background color here, or use the JPG to PNG tool if you need to keep transparency instead.
Is my PNG uploaded?
No. The entire conversion runs in your browser.
Conclusion
One step turns a PNG into a JPG that opens in virtually any app, browser, or print workflow.